Revamping your floors doesn’t have to break the bank or require a professional. With a little creativity and some elbow grease, you can transform your home’s look while staying on budget. Whether you’re tackling outdated tiles, worn-out carpets, or dull hardwood, there are cost-effective DIY solutions to suit every style. Find practical tips, affordable materials, and step-by-step guidance to help you upgrade your floors yourself and achieve stunning results without overspending.
What Are the Benefits of Upgrading Your Floors Yourself?
Upgrading floors independently offers numerous advantages, including cost savings and personal satisfaction. By taking on the project, homeowners can avoid labor costs associated with hiring professionals, allowing for a more budget-friendly renovation. Additionally, the sense of accomplishment that comes from completing a home improvement project can enhance overall well-being and pride in homeownership.
Floor Upgrades Boost Home Value and Aesthetic Appeal
Upgrading floors can enhance a home’s market value and visual appeal. A well-executed flooring upgrade can attract potential buyers, as it is one of the first aspects they notice when entering a home. Modern flooring options can create a fresh, inviting atmosphere that resonates with contemporary design trends.
Easy-to-Install Options: Laminate, Vinyl, and Tile
Laminate, luxury vinyl plank, and tile are popular flooring options that offer ease of installation, making them ideal for DIY enthusiasts. Laminate flooring mimics the appearance of hardwood while being more affordable and easier to maintain. Its click-lock installation system allows for quick and straightforward setup, making it accessible for beginners.
Luxury vinyl flooring has gained popularity due to its durability and water resistance, making it suitable for various areas in the home. With peel-and-stick options available, homeowners can achieve a professional look without extensive tools or experience. Tile flooring, while slightly more complex, offers a wide range of designs and is known for its longevity. These options empower individuals to transform their spaces with minimal hassle.
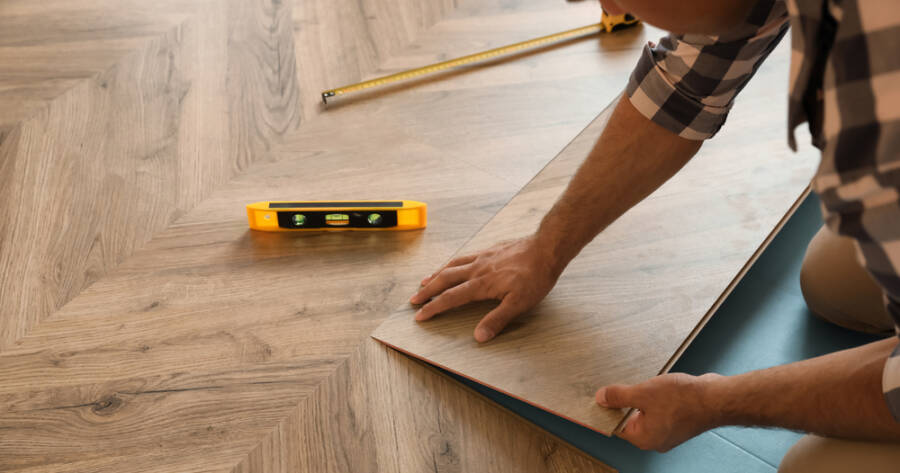
Common Steps For Installation
Here are the common steps for installing plank flooring:
Measure and Prepare the Area: Measure the room to determine how much flooring you’ll need. Clear the space, remove existing flooring, and ensure the subfloor is clean, dry, and level.
Acclimate the Flooring: Let the planks acclimate to the room’s temperature and humidity for at least 48 hours.
Gather Tools and Materials: Assemble necessary tools, such as a tape measure, utility knife, spacers, mallet, pull bar, and saw.
Install Underlayment: If required, lay down underlayment to provide cushioning, moisture resistance, and soundproofing. Some plank flooring has an underlay already attached, so be sure to check.
Plan the Layout: Decide on the direction of the planks (typically parallel to the longest wall or main light source). Stagger seams for a more natural look.
Start Installation: Begin at one corner of the room, placing spacers between the planks and the wall to allow for expansion.
Cut Planks as Needed: Measure and cut planks for ends of rows or unique areas like doorways using a saw.
Lock Planks Together: Use the click-and-lock system or adhesive, depending on the plank type, to secure the pieces.
Continue Row by Row: Work across the room, ensuring each plank is tightly fitted.
Install Final Row: Trim the last row of planks to fit, leaving the necessary gap for expansion.
Remove Spacers and Add Trim: Remove spacers and install baseboards or quarter-round molding to cover expansion gaps.
Clean and Enjoy: Clean the new floor with a soft, damp cloth or vacuum to remove dust and debris.
It’s Time For a Floor Upgrade
Understanding the various flooring options available can empower homeowners to make informed decisions that enhance their living spaces. By exploring the benefits of DIY upgrades, easy installation methods, and sustainable materials, individuals can create beautiful and functional environments that reflect their personal style while also contributing to the value of their homes.